We make a lot of Custom Wood Signs in our studio. I am in love with this easy background for our custom wood signs. We use Dixie Belle Paint products in our studio and this method is Easy Peasy and looks gorgeous. It’s rich and timeless. It has just the right amount of distressed look to it but no power tools. And…. it is soooo easy to do. Did I say it was easy???
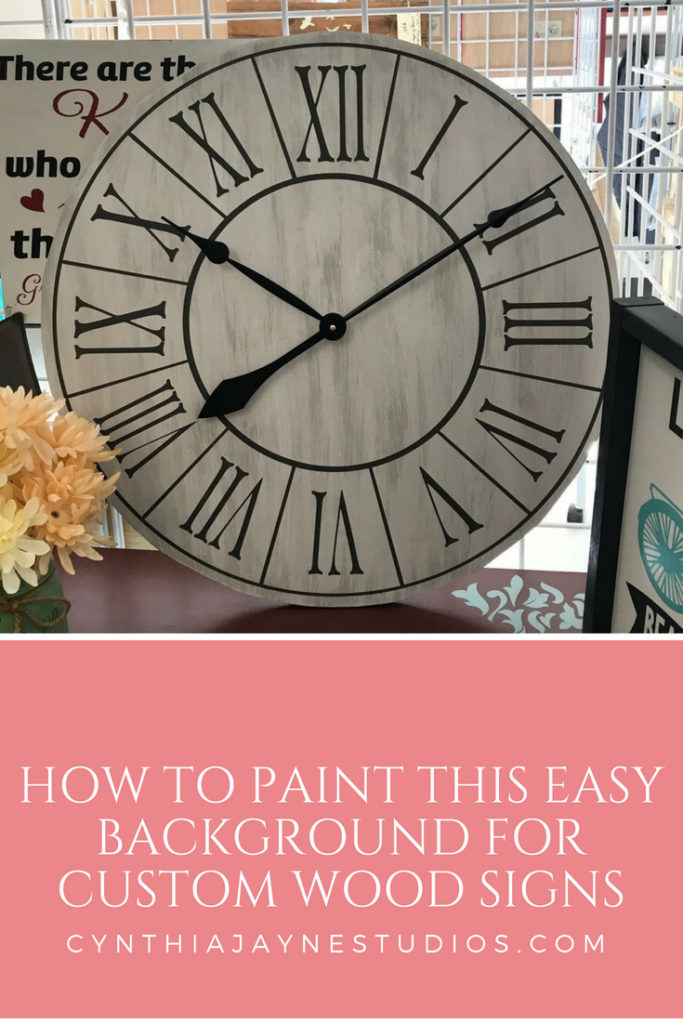
In the MARKET picture below I have also used some of the Iron Orchid Designs Transfers also known as IOD transfers. They are very simple to use but we will save that for another post.

Instructions for Painting this Easy Background
***This post contains affiliate links for your convenience***
Supply List
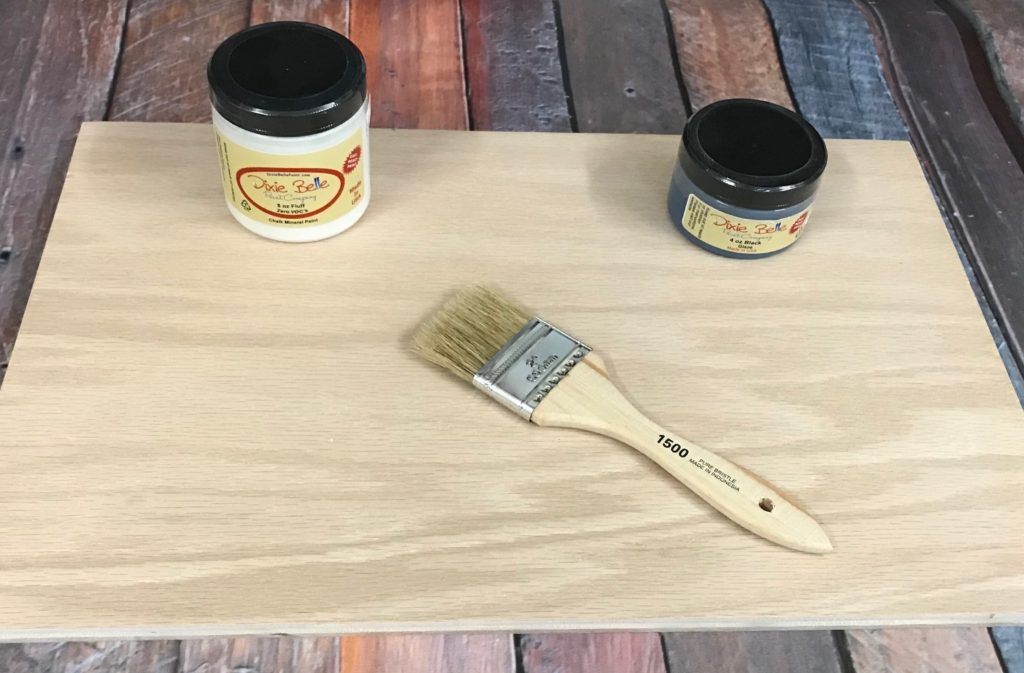
Here’s a list of what you will need:
- Your board or other wood project
- Dixie Belle Paint in Fluff
- Dixie Belle Black Glaze
- Chip Brush
- A damp cloth or sponge
- 400 Grit Sandpaper
We are using a 12” x 18” x .5” Plywood board but what ever wood project you are working on, you should be able to get the same effect.
Easy Peasy Instructions
First, be sure your board is sanded smooth and free of saw dust. You will start with Dixie Belle’s Fluff paint. I remove how ever much I think I am going to need into a small cup. I then add in a very small amount (maybe a teaspoon per oz of paint) of water to my paint and blend it in. The paint seems to go on so much easier on raw wood when I water down the paint.
Cover your board with a nice even coat of Fluff. I like to use a damp sponge for this step. Let the first coat dry to the touch. You will probably want a second thin coat…. Depending on how well you were able to get it covered with the first coat. Once you have the board covered and it is dry, you are ready for the glaze.
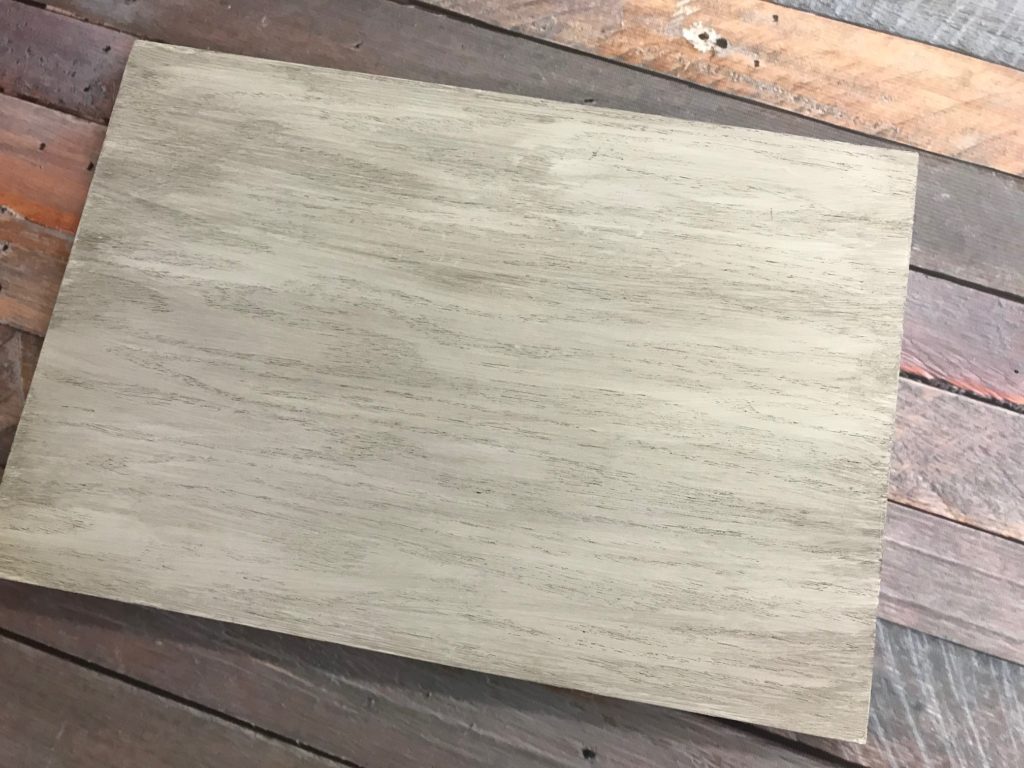
The Easy Peasy Part
I like to use a dry chip brush for the glaze. Open your jar of glaze and stir before using. Dip your brush into the glaze. You do not need a lot at one time. I usually dip my brush into whatever is on the lid first. Then begin painting it on your board right over the white. Wait about 1 minute and come back over the glaze with a damp cloth or sponge, wiping off some of the glaze. You can wipe off as much or as little as you want or paint some more back on if you take off too much. How much you leave on is really a personal preference.
Once you are happy with the look you have achieved, let it dry. Then sand it down with 400 grit sandpaper and you are ready to put your stencil on. This technique works great for all kinds of wood projects.
Easy Peasy…. I told you it was easy. Dixie Belle Paint is the #BestPaintOnPlanetEarth
We knew you would love how easy it is to create this background for your custom wood signs.
Blessings…. XOXO
Cindy
Get Weekly News from Cynthia Jayne
Subscribe to get our latest content by email.